
Best Light Pollution Filters for Astro-Photography in 2026
By Anne. N May 4, 2025, 11:40 AM AEST (Featured image: Photo of Milky Way above New York City. by Piccinng via Pexels )…
By Anne N.
October 5, 2025 | 11:42 AM AEST
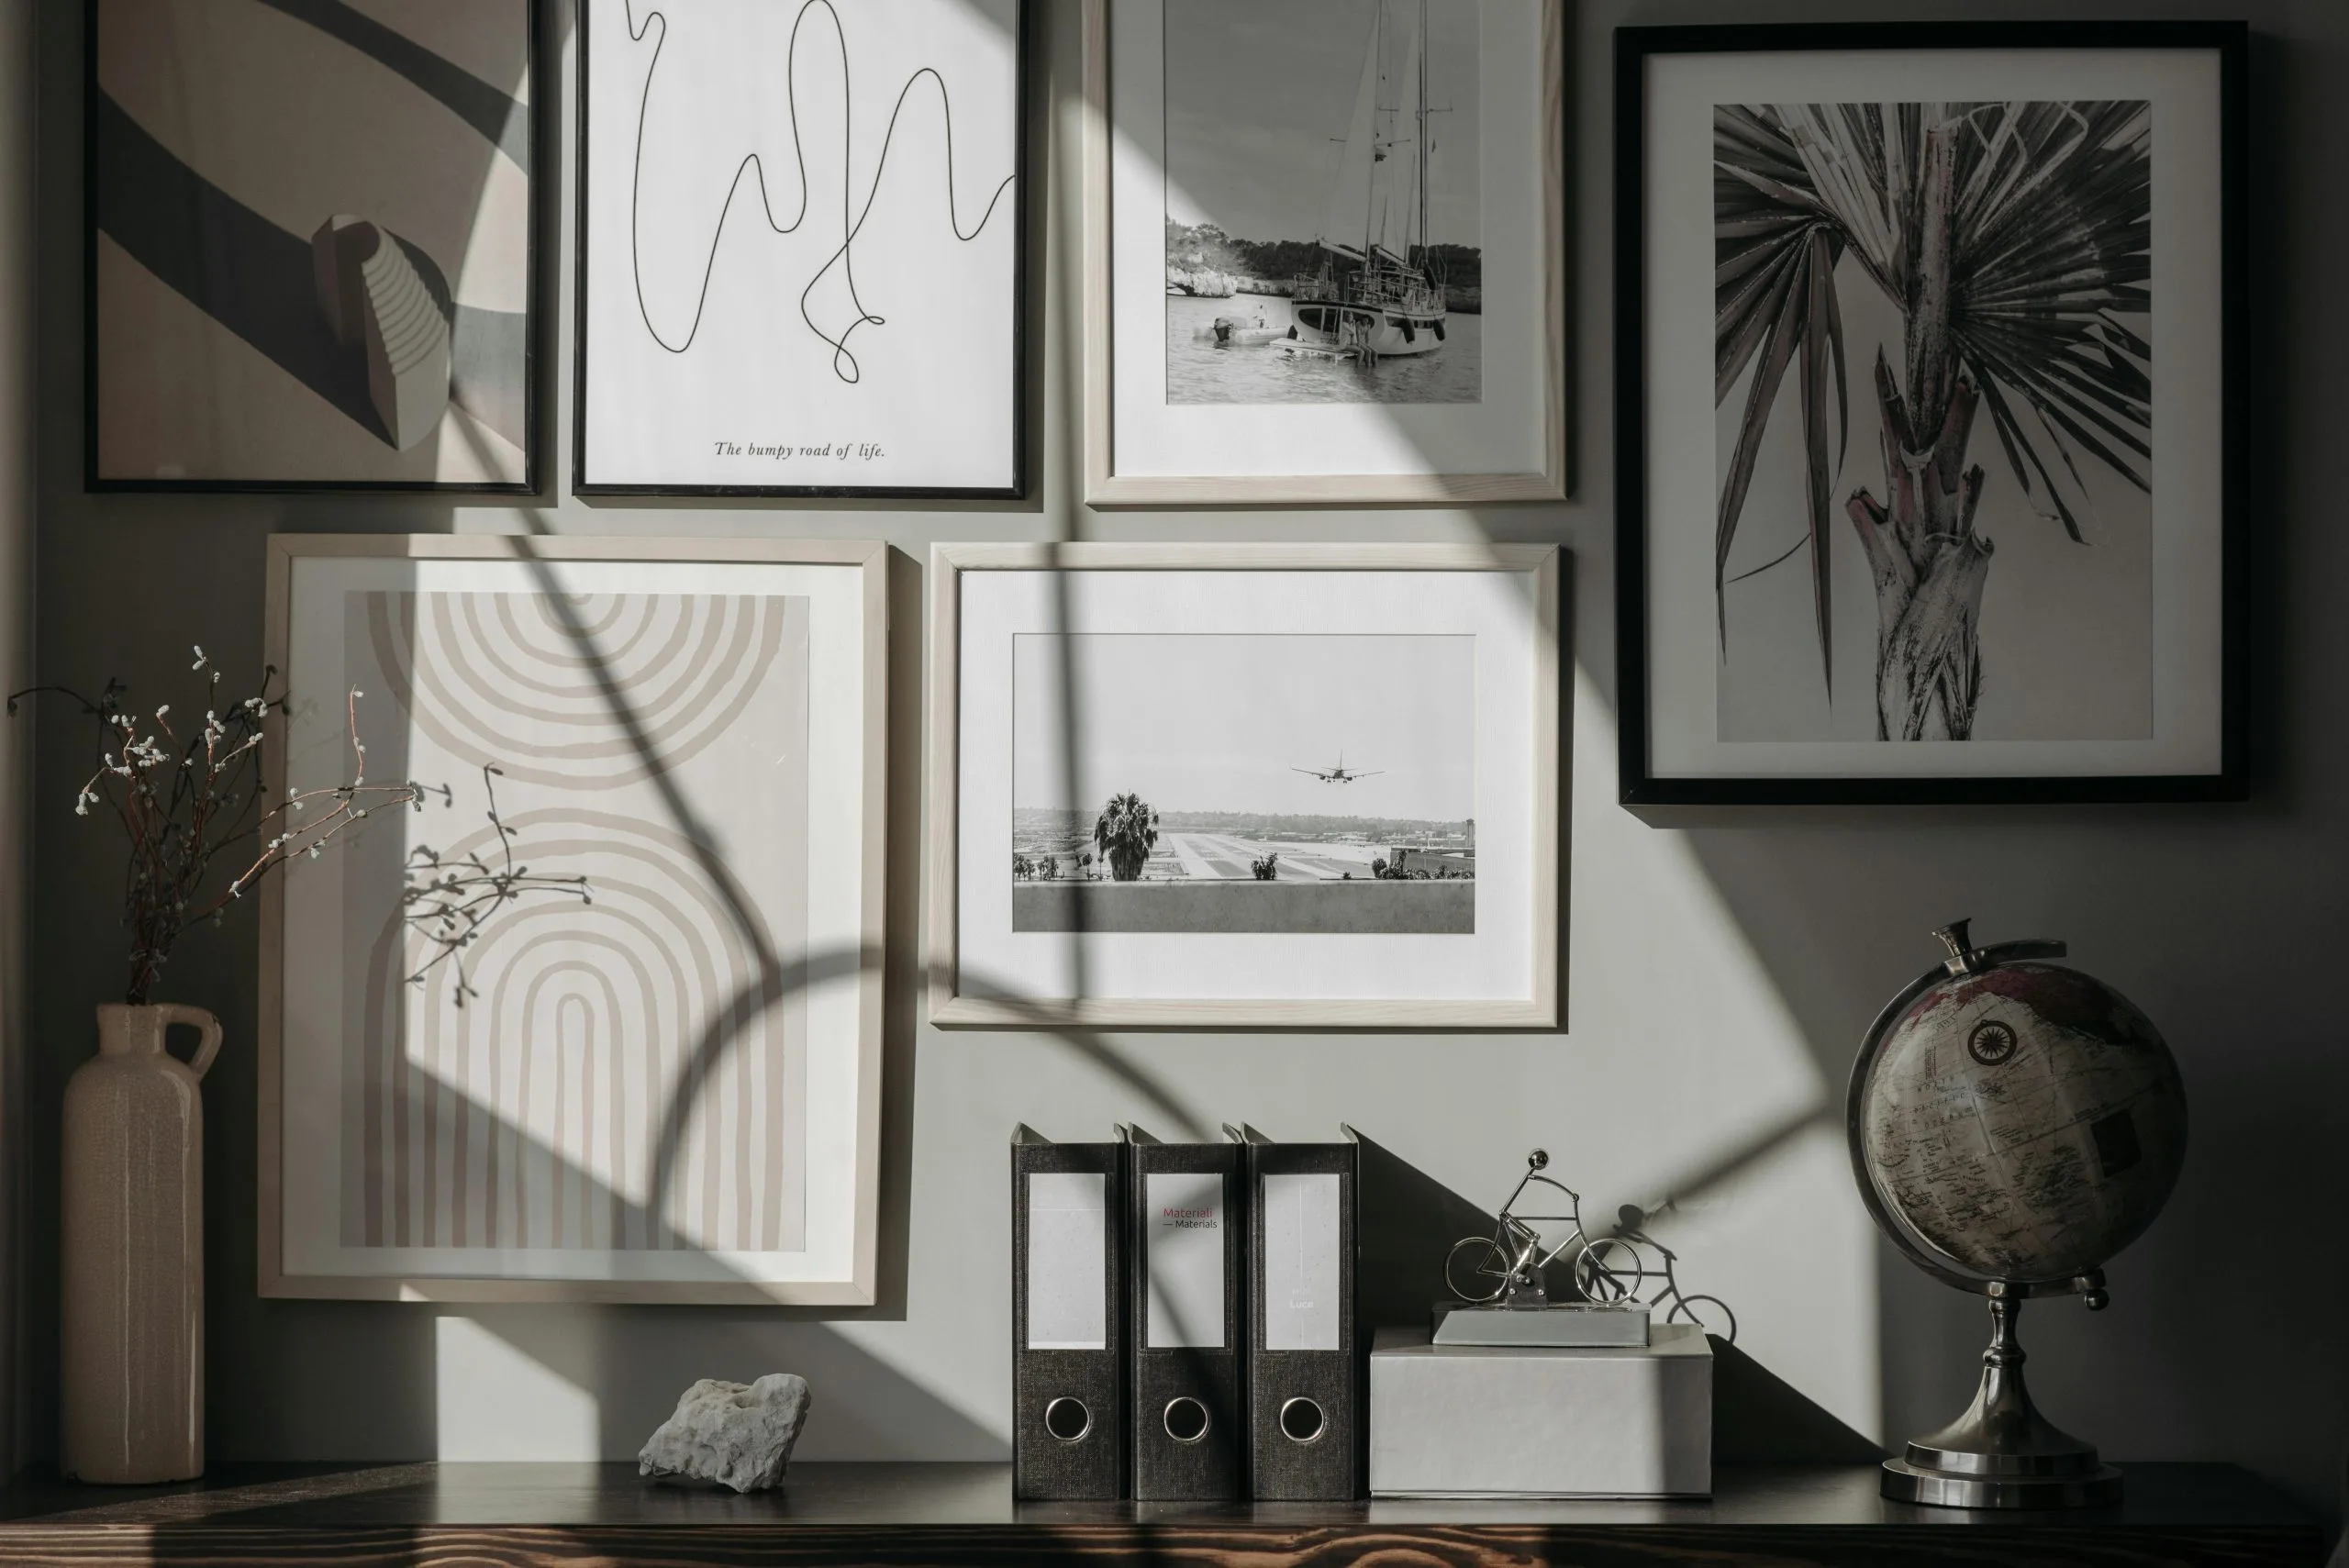
(Featured image: A gallery wall of framed photographs above a work desk. Photo by Pavel Danilyuk. via Pexels)
A well-designed photo gallery wall turns blank plaster into a story. It captures moments, travels, and the people who make a house feel like home. Whether you live in a Sydney apartment or a beach house in Byron Bay, this step-by-step guide shows how to plan, print, and hang your own photo gallery wall with professional results.
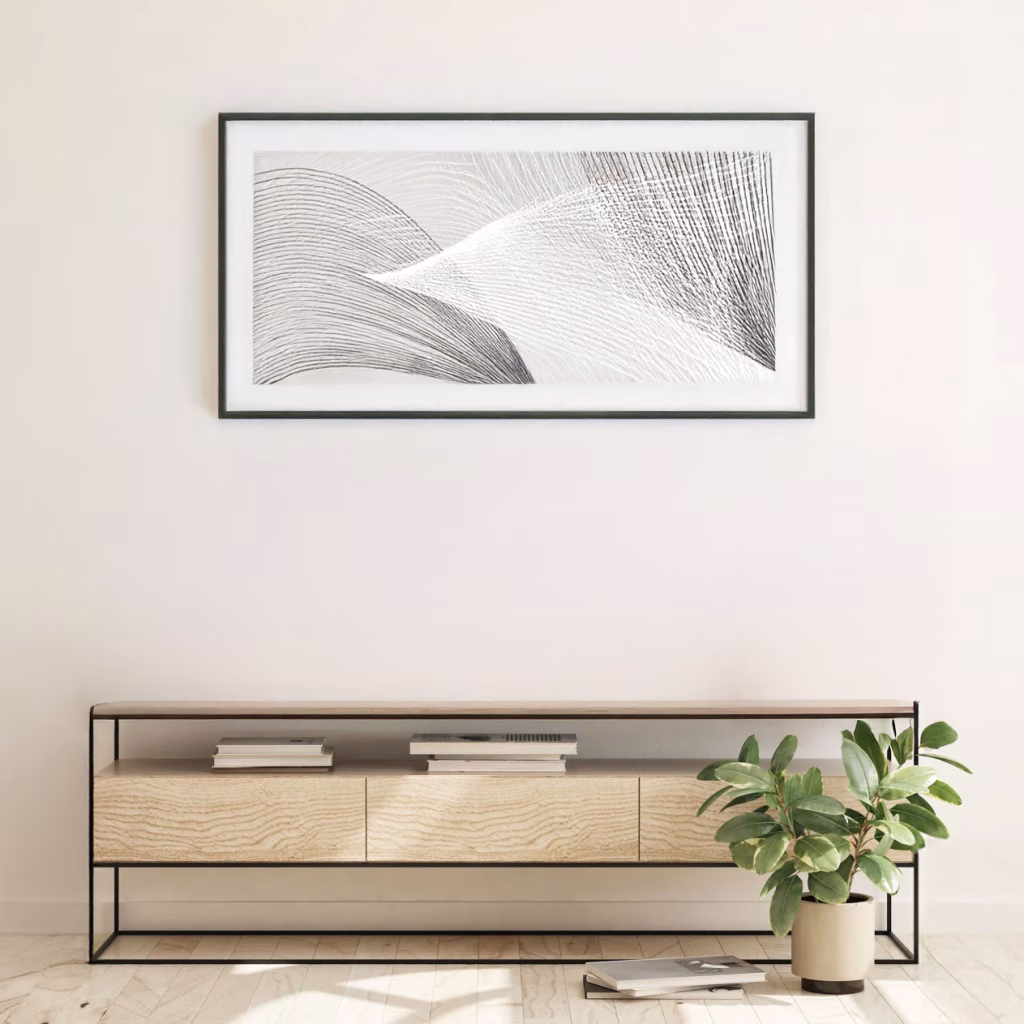
( Photo of Abstract Black & White Artwork Above Console Table. Photo by Michael Moore via Pexels )
A gallery wall is an arrangement of framed photographs or artworks hung together as one visual composition. It can be symmetrical, eclectic, or themed around colour, subject, or mood. The best ones look effortless but are planned with care from print size and spacing to frame finishes and wall lighting.
Start with a unifying idea.
Examples include:
Keep a consistent tone or editing style so the wall feels cohesive.
Measure the width and height in centimetres and note the wall’s shape.
Leave at least 15 – 20 cm (6 – 8 in) clearance from furniture tops and 10 cm (4 in) from side walls.
A typical gallery wall covers about two-thirds of the furniture width beneath it.
| Layout | Description | Best For |
|---|---|---|
| Grid | Even rows and columns; equal spacing | Modern interiors |
| Linear | Frames aligned along a single centre line | Hallways or above beds |
| Salon | Eclectic mix of sizes and frames | Casual living rooms |
| Cluster | Tight grouping around a focal piece | Entryways or small walls |
Use paper templates or painter’s tape to test your design before drilling.
High-resolution files are essential. Aim for at least 300 DPI at your chosen print size. For example, a 60 × 90 cm print should be about 7000 × 4700 pixels.
Van Vakarnee prints are produced in Australia using giclée pigment inks for vivid, results that last decades.
Choose frame materials that complement both art and room style.
| Frame Finish | Mood | Works Well With |
|---|---|---|
| Natural Oak | Warm, coastal, organic | Landscapes, botanicals |
| Black | Modern, graphic | Monochrome photography |
| White | Airy, minimalist | Pastel or beach scenes |
| Metal | Industrial, sleek | Urban photography |
Add mat boards for breathing space between print and glazing.
For Australian sunlight, UV-blocking acrylic glazing is safer and lighter than glass.
Keep the gallery’s midpoint around 145 – 150 cm from the floor — average eye level.
If the wall is large, maintain this centre line through the entire arrangement.
Allow 5 – 8 cm (2 – 3 in) between frames. Consistent gaps make even mixed frames feel organised.
Lay frames on the floor first, photograph your layout, then transfer markings to the wall using painter’s tape and a spirit level.
Good lighting enhances every print.
Use LED picture lights or track lighting aimed at a 30-degree angle to avoid glare.
In bright rooms, fit windows with sheer curtains or UV film to protect prints from fading.
For a ready-to-hang option, browse Van Vakarnee’s [Landscapes Collection] and [Botanicals Collection] featuring authentic Australian imagery printed locally.
Dust frames with a microfibre cloth every few weeks. Avoid glass cleaners near edges.
In coastal climates, ensure ventilation behind frames to prevent moisture build-up.
All Van Vakarnee prints use archival inks and acid-free materials for long-term durability.
Creating a photo gallery wall is as much about storytelling as design. Choose images that mean something, print them with care, and display them where they spark joy.
When you’re ready to begin, explore Van Vakarnee’s Art Photography Prints all made in Australia by real artists, not algorithms.
Turn your walls into a collection of real moments worth remembering.
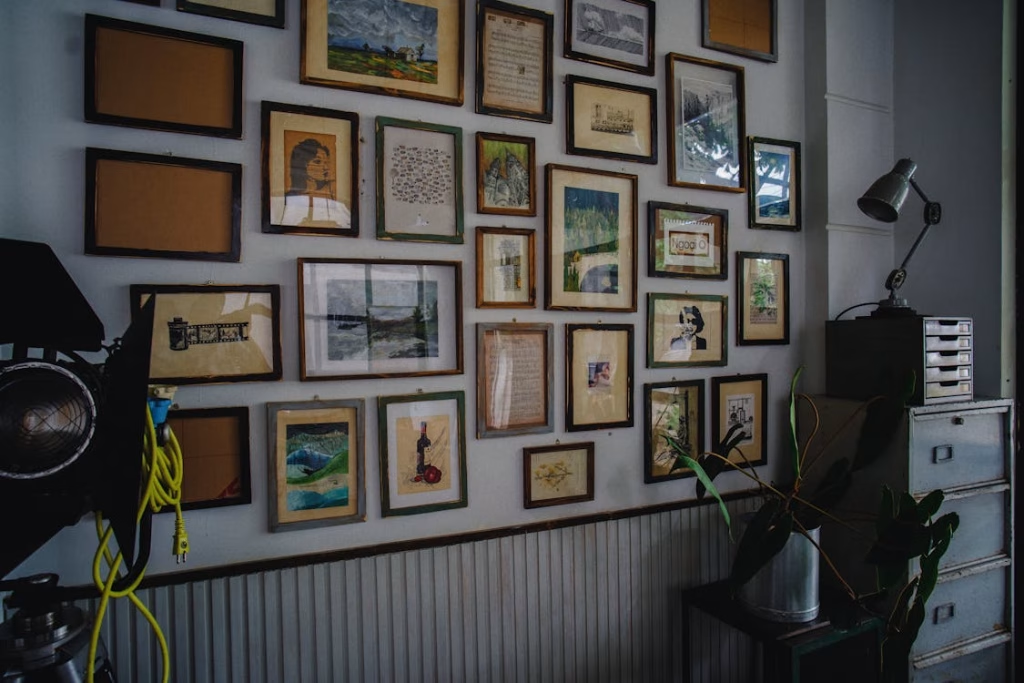
(Image: Photo gallery wall of images placed on wall in industrial room. Photo by Đan Thy Nguyễn Mai. via Pexels)