Bathroom Wall Art Prints for Small Bathrooms, Ensuites, & Half Bathrooms
By Anne N.May 23, 2026 | 10:00 AM AEST (Featured image: Icy Leaves framed botanical bathroom wall art print beside a white vanity, brushed…
By Angus W.
December 1, 2025 | 11:48 PM AEST
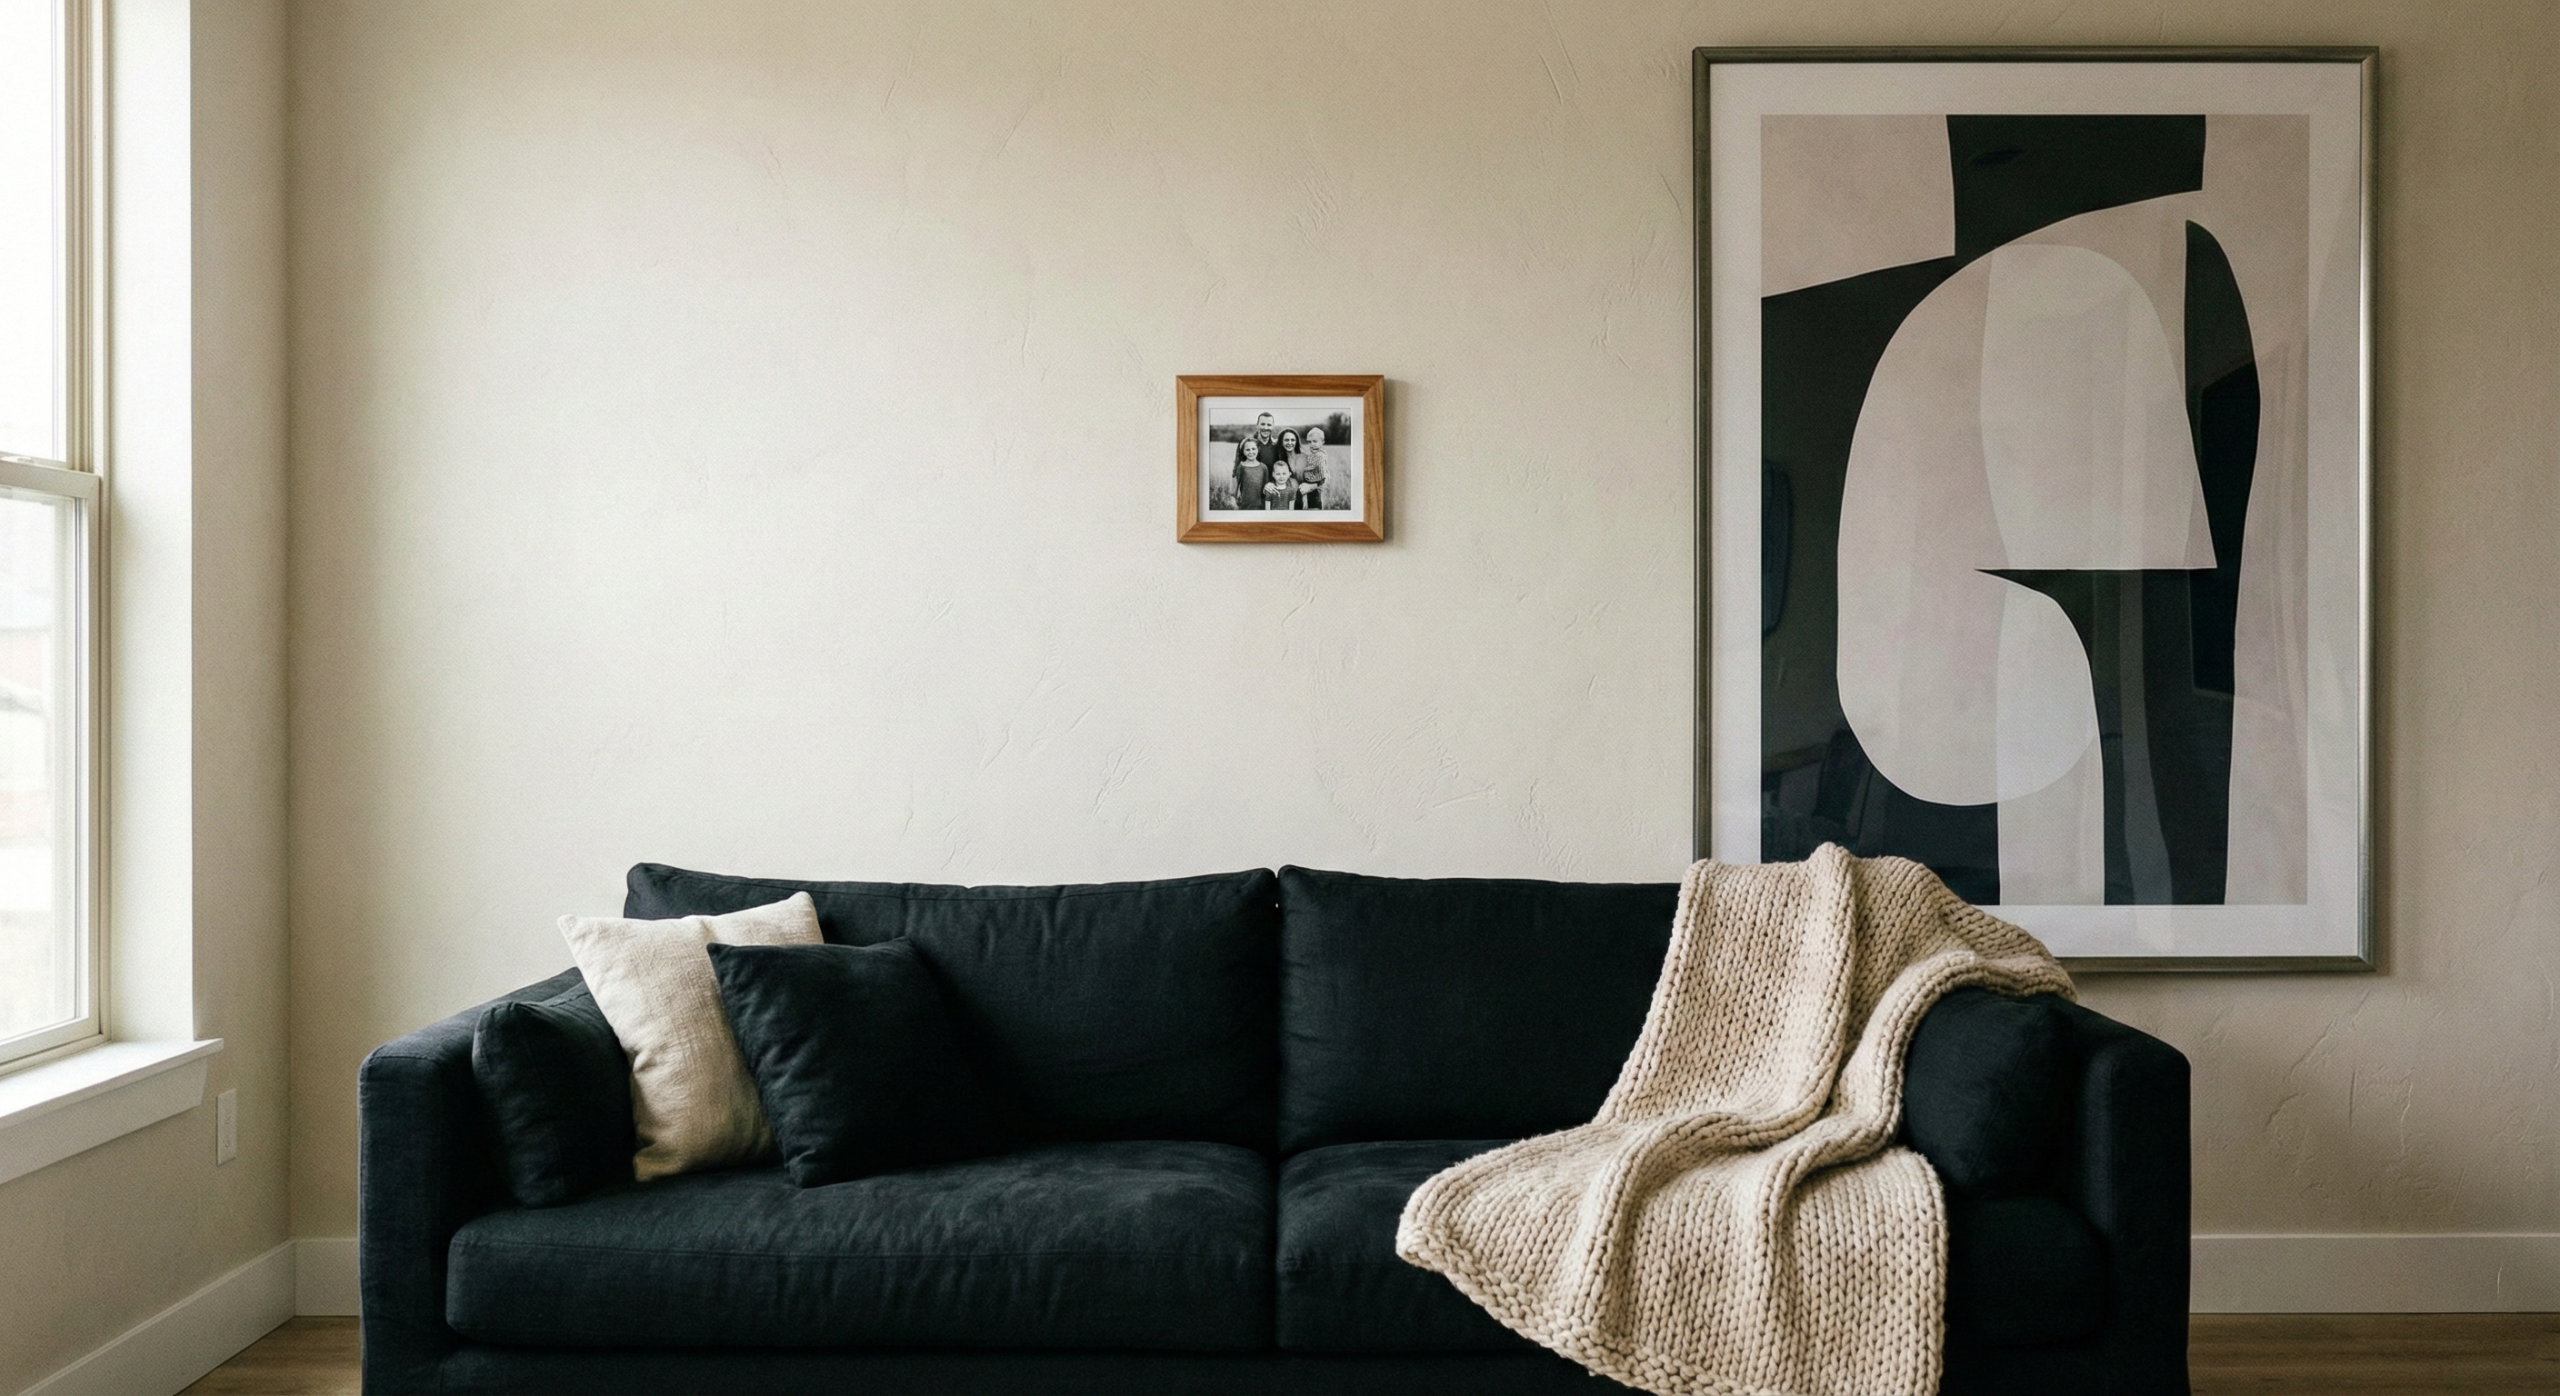
(Featured image: Black Sofa, Featuring Oddly Sized Wall Art. Photo by VanVakarnee)
Nothing transforms a house into a home quite like art. It adds personality, color, and soul to a space. Yet, for many of our customers at VanVakarnee.com, the process of buying wall art is paralyzed by one specific fear: getting the size wrong.
We have all seen it or perhaps done it. You find a beautiful print, bring it home, and hang it on a large, empty wall, only to find it looks like a “postage stamp” floating in a sea of drywall. It makes the room feel cluttered rather than curated. Conversely, art that is too large can feel overwhelming and cramped.
The good news? Interior design isn’t just art; it’s geometry. There are specific, unbreakable formulas that designers use to ensure every piece fits perfectly.
By the end of this guide, you will have the exact toolkit used by the curators at VanVakarnee to banish the “postage stamp” effect forever and buy with confidence.
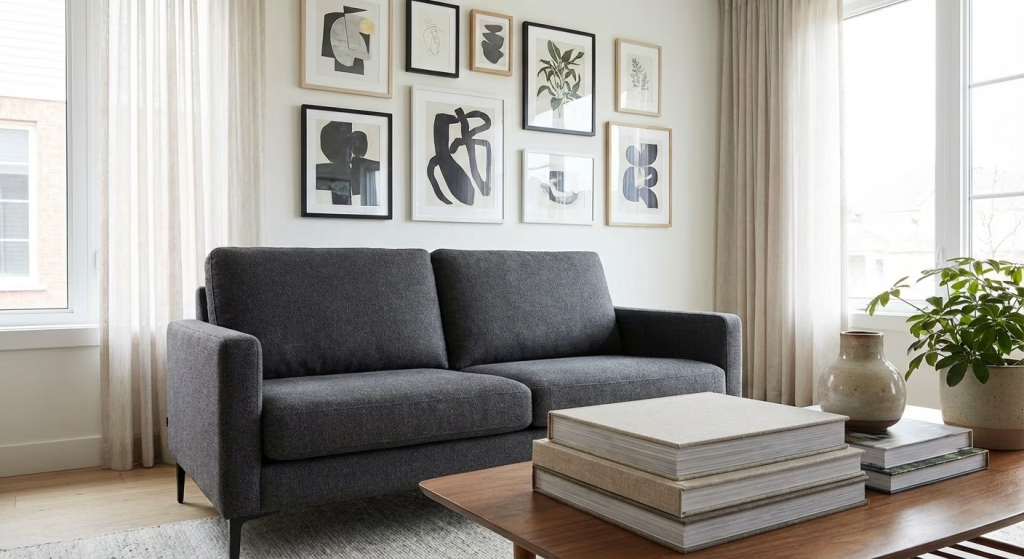
(Featured image: Gray Sofa, Featuring Collage of Wall Art. Photo by VanVakarnee)
Part 1: The Golden Ratios (The Math)
Before we look at specific rooms, you need to know the three universal rules of hanging art. These apply almost everywhere in your home.
1. The 57-Inch Rule (Height)
If you browse an art gallery or museum, you will notice a sense of harmony. That is because they hang everything at a standardized height.
This represents the average human eye level.
Pro Tip: If your ceilings are exceptionally high (over 9 feet), you can move this up to 60 inches, but sticking to 57 inches ensures the art connects with the furniture rather than floating near the ceiling.
2. The 2/3rds Rule (Width)
This is the most critical rule for visual balance. Art should never be wider than the furniture it hangs above.
To calculate this, measure your furniture and use this simple formula:
Furniture Width x 0.60 = Ideal Art Width
Example:
If you have a standard sofa that is 84 inches wide:
Result: You need a piece of art (or a total gallery width) between 50 and 63 inches wide.
3. The “Hand Width” Rule (Spacing)
When hanging a set of frames, spacing is everything.
If the gaps are too wide, the eye perceives them as separate, disconnected items. If the gap is tight (2-3 inches), the eye reads the set as one cohesive masterpiece.
Part 2: Visualizing Size by Room
Now that you have the math, let’s apply it to the most common trouble spots in the home.
4. The Living Room (Over the Sofa)
The space above the sofa is usually the largest focal point in the home.
5. The Bedroom (Over the Headboard)
The bedroom requires a softer touch.
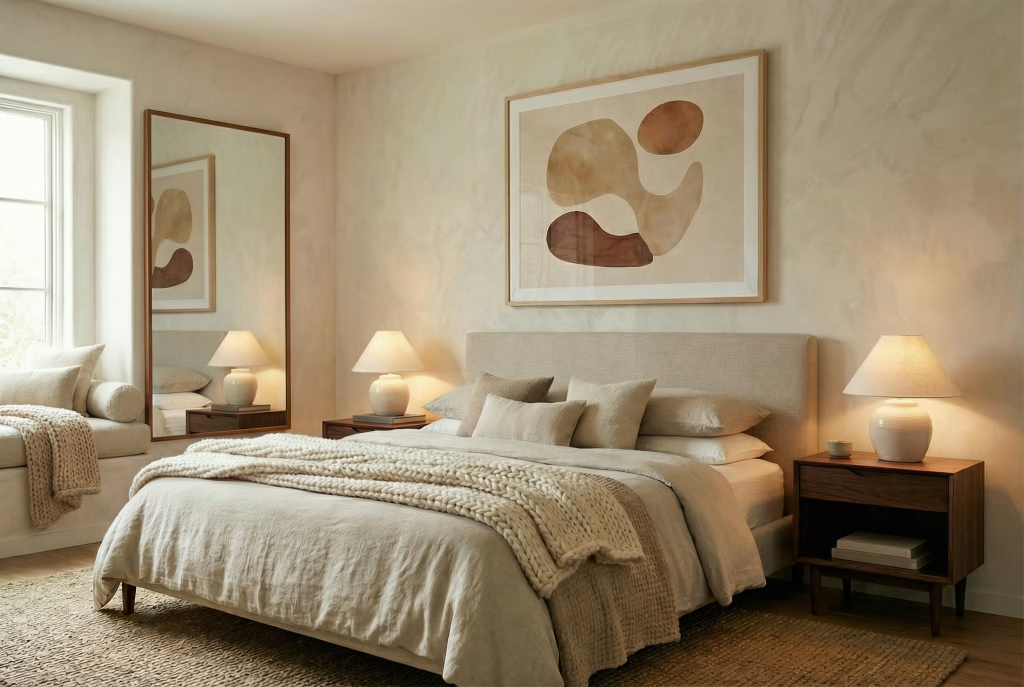
(Featured image: Rustic Bedroom with Wall Art Above Bed. Photo by VanVakarnee)
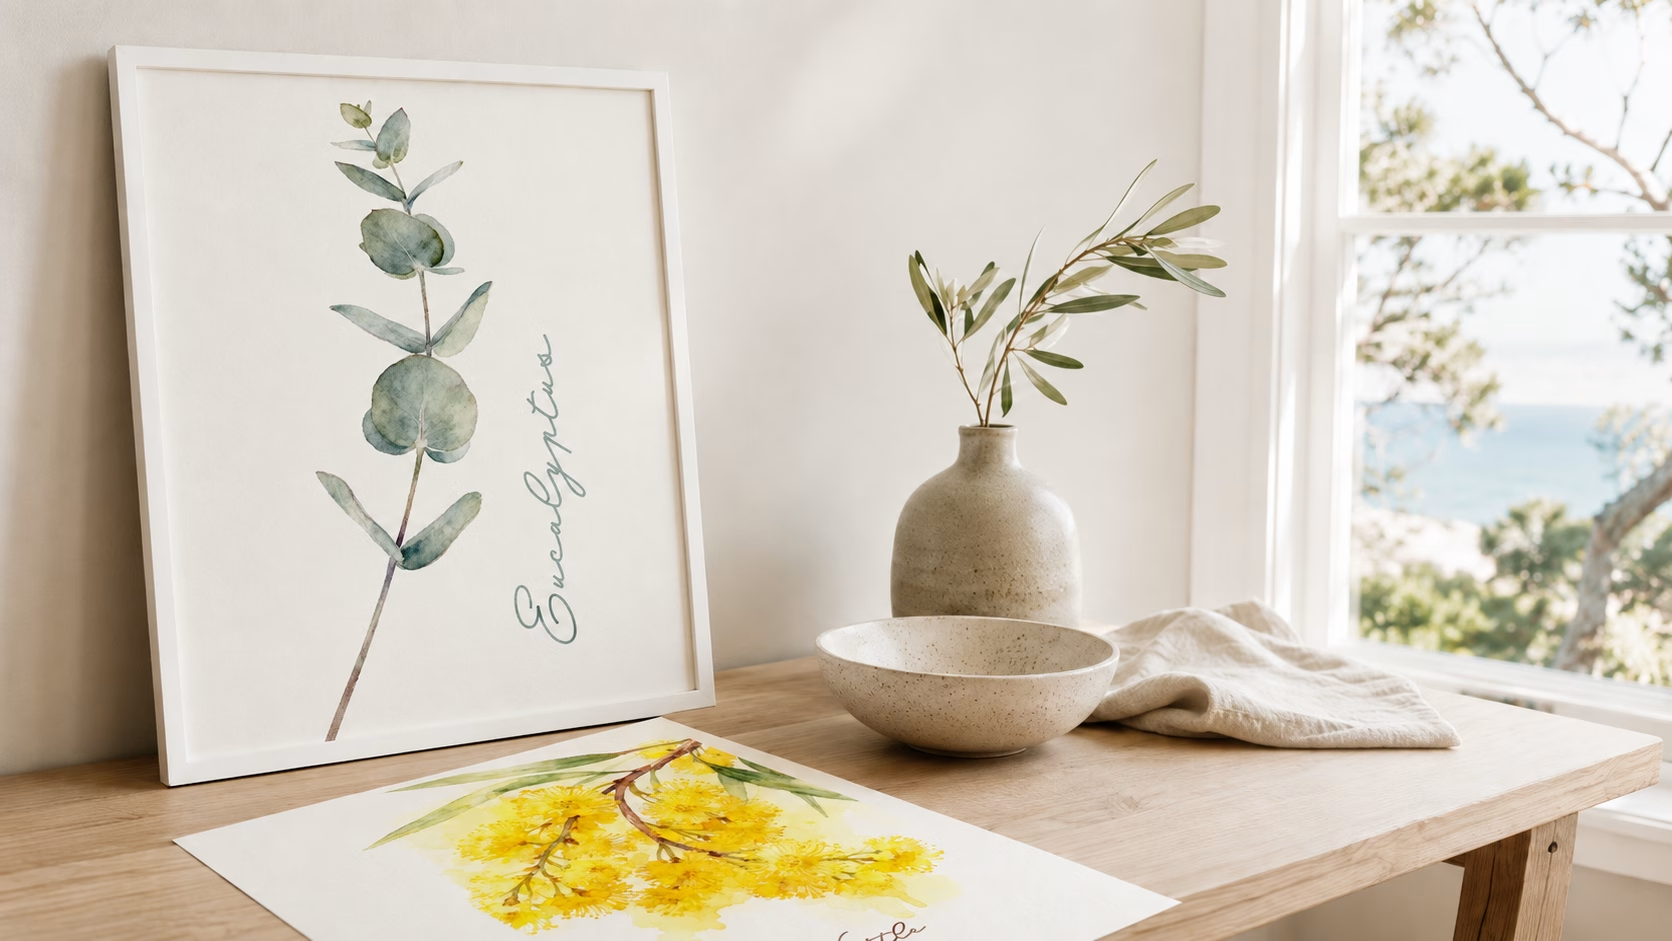
6. The Dining Room
The dining room breaks the 57-inch rule. Why? Because you spend most of your time in this room sitting down.
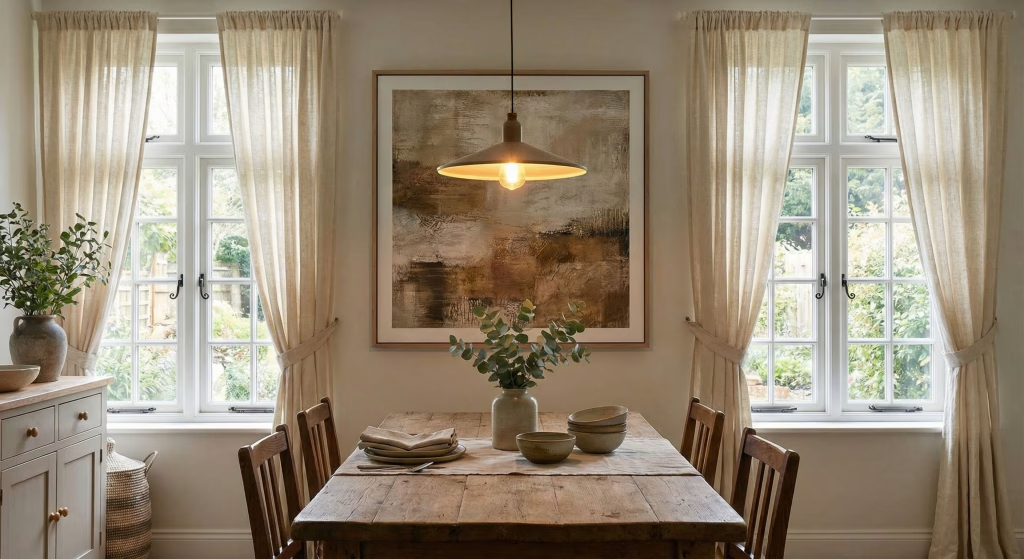
(Featured image: Rustic Dining Table with Wall Art. Photo by VanVakarnee)
7. Hallways & Entryways
Hallways are often narrow and difficult to photograph, but they are essential for flow.
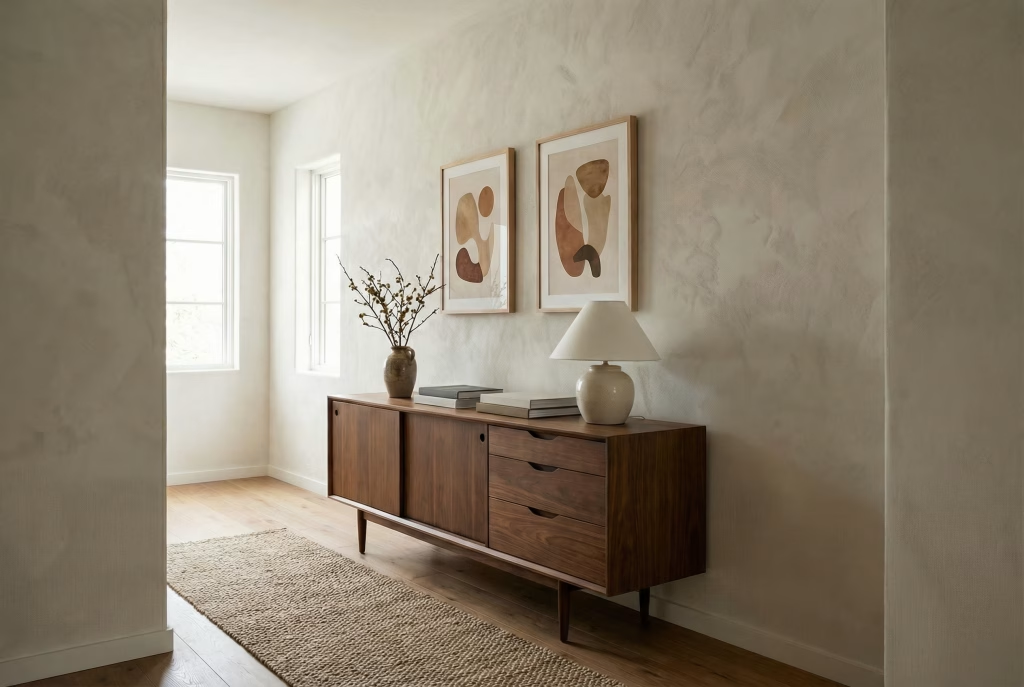
(Featured image: Rustic Credenza Table with Wall Art. Photo by VanVakarnee)
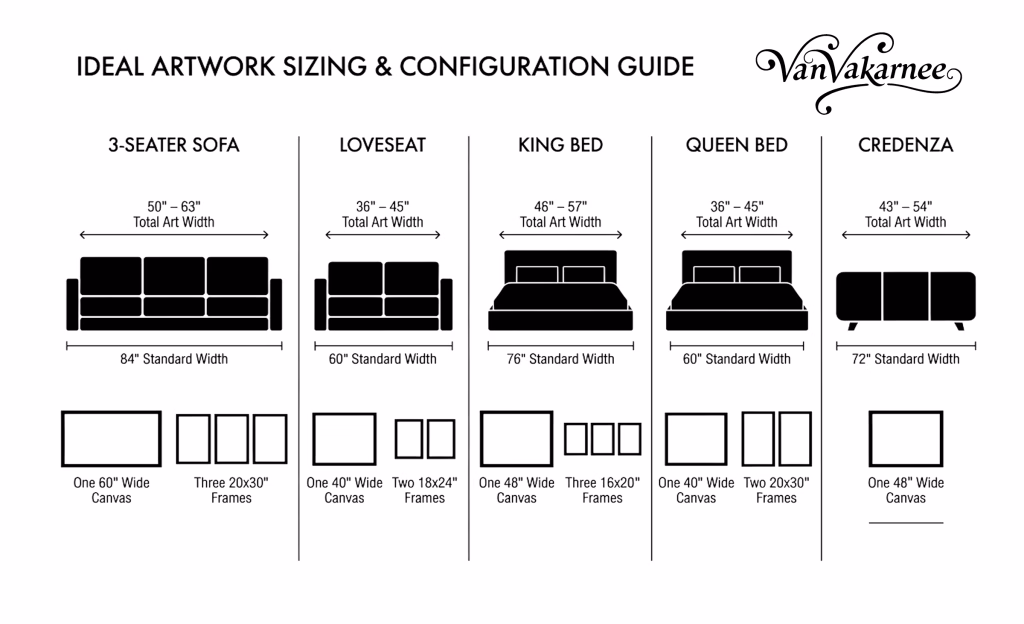
8. Cheat Sheet – Standard Furniture vs. Art Sizes
Use this table for a quick reference when shopping on VanVakarnee.com:
9. Orientation Matters (Portrait vs. Landscape)
The shape of your art should mimic the shape of the wall space available.
Common Mistakes to Avoid
Even with the math in hand, watch out for these design pitfalls:
FAQ: Your Quick Questions Answered
How do I measure for a gallery wall?
Treat the entire collection as one single image. Layout your frames on the floor first, measuring the total height and width including the gaps between frames. Use those total outer dimensions to center the group on the wall.
Should frames match the furniture or the wall color?
They don’t have to match, but they should coordinate. If you have dark wood furniture, black or walnut frames look excellent. If you want a Scandinavian look, go for light oak. White frames on white walls create a subtle, airy feel.
What if my sofa is against a window?
Ideally, you shouldn’t hang art directly on a window. However, you can use the curtains to frame the sofa, and hang art on the adjacent walls to balance the room.
Can I mix different frame sizes?
Absolutely. This is called an “organic” gallery wall. To keep it cohesive, try to keep the spacing between frames consistent (approx 2 inches), even if the frame sizes vary.
Conclusion
Choosing the right wall art size doesn’t have to be a guessing game. By sticking to the 2/3rds Rule for width and the 57-Inch Rule for height, you can achieve a designer look in any room of your house.
At VanVakarnee, we curate our collections with these sizes in mind, ensuring you can find the perfect piece whether you are styling a cozy nook or a grand living room.
Ready to find your perfect fit?
Now that you know your measurements, stop guessing and start styling.